Hi guys!
I thought I’d share how I get on with my beauty routine (and why!). I’ll also share products I use and what works for me and possibly you as well (If you share the same skin type as I do and live in the same weather haha)
And for each product I’ll try my best to suggest a more affordable yet great quality makeup products!
Before we go on, I’ll just share my skintype; combination skin – oily T-zone and dry cheeks, chin. I also have texture on my cheeks from old acne scars.
PS: I use and own 90% of the products here, but I may not own all of them. Yet. Will include * in products I do not own but assume would be a good alternative!
Step 1: Cleanser
It is important to make sure you start your makeup with a clean face. This allows product to stick to your skin better and give an overall flawless look.
I use an all natural soap by a local company called Nur Ain, RM12

photo credit: kedaijimatonline
Additional step: Exfoliate
Scrub a dub dub off dead skin cells so you can start your makeup with supple skin. I do this especially if I have a long day.
I use St Ives Peach and Apricot Scrub, RM17.90

photo credit: Guardian Malaysia
Step 2: Moisturize
Moisturizing helps because it lessen creasing on your face. If you have dry skin, please make sure you moisturize so that your foundation does not look patchy. Wait a couple of minutes for your skin to dry and absorb into your skin before moving to any other face products.
I use Laneige Water Bank Gel Cream, RM120 (Bought from Althea.kr)

photo credit: Laneige
Pocket friendly alternative: *Aqua Sensation by Nivea, RM33.50 (I’ve used this a couple of time because my best friend uses this. Texture and absorption feels the same as Laneige’s!)

photo credit: Watson’s
Step 3: Primer (eyes)
I prefer doing my eye makeup first before foundation because I use a lot of glittery eye shadow. It tends to fall out and would smear across my cheeks, under eye etc. So by doing my eye makeup first, I’m able to dust off or wipe off the excess makeup without wiping away concealer or foundation.
I use Urban Decay Eyeshadow Primer Potion in Original, RM95

photo credit: urbandecay.co.uk
Pocket friendly alternative: There’s no exact primer I could find that is pocket friendly but using your concealer on your eyelids and then setting them with some powder works just fine too! (please suggest in the comments below if you do know any eye primer that’s affordable!)
Step 4: Eye makeup
Self explanatory step and based on your preference but try and set your eyelid after putting on primer with a shade that is similar to your eyelid colour. So the colour payoff is even greater!
I use many palettes but current favourite is Tartelette in Bloom, RM175

photo credit: Sephora
Pocket friendly alternative: Try *Sofwanah Cosmetics, RM95 (IT’S A LOCAL BRAND! And reviews are amazing!)

photo credit: Sofwanah Cosmetics
Step 5: Primer (face)
I only started priming my face a couple of years ago, but I swear by this step. You can really tell the difference when you prime your face and put on foundation; it just lasts so much longer and stays nice and put. Apply a 20 cent size to your finger and spread it all over your face. Don’t forget the under eye!
I use Revlon Color Correcting Primer, RM60 or so or Smashbox Photo Finish Foundation Primer, RM75


Pocket friendly alternative: *KATE Makeup Lock Primer, RM39

Step 6: Foundation
My favorite part. Check out my other blog post on how to find your foundation match here
But my current go to foundation is the Huda Beauty Faux Filter Foundation in the shade 320G Tres Leches. It’s important to find a foundation shade that matches your neck and body… I’ve had so many photos (with flashes) that I look like a Ghost. Mak Lampir come thruuuuuuu
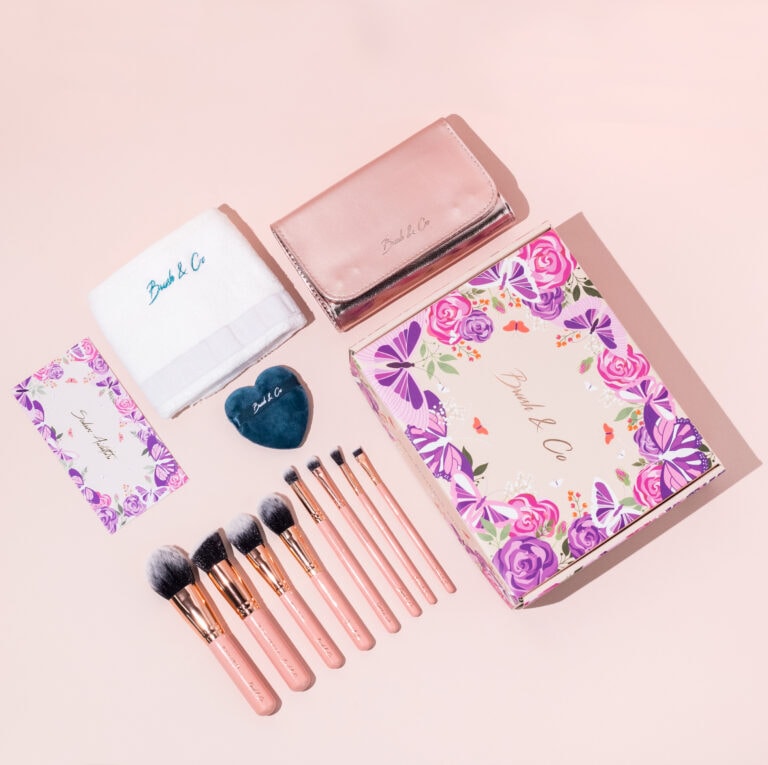
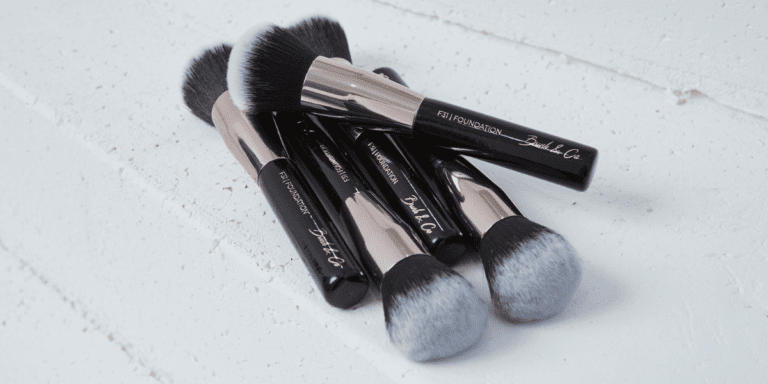
My favorite brush to apply foundation with is the Flat Foundation Brush or the Round Kabuki Foundation brush (both from Brush & Co)
I use Huda Beauty Faux Filter Foundation, 320G Tres Leches, RM 220 (Bought from CMYK Face)

Pocket friendly alternative: *Bourjouis Healthy Mix, RM54

Step 7: Concealer
I actually use my concealer as a brightener for my face. I use specifically for my under eyes, upper lip, chin, forehead and the bridge of my nose. I don’t use it to conceal anything hahaha
I use Tarte Shape Tape in shade Medium, RM100 (Bought directly from Tarte.com during their sale)

photo credit: tarte
Pocket friendly alternative: NYX Professional HD Concealer, RM26

photo credit: Ulta
Step 8: Powder
I use the Mac Mineralize Skinfinish Powder, RM148 for daily use or the Too Faced Born This Way Setting Powder, RM139 for a more matte/caked-up look (Usually when I have dinner etc)

photo credit: makeupalley

photo credit: toofaced
Pocket friendly alternative: Silkygirl Shine-Free Loose Powder, RM27 (I used this for yearrrrs before getting the expensive ones and it works fine!!)

photo credit: Silkygirl
Tip: If you don’t have a brow gel, dab on loose powder on your eyebrows too. This works well to help keep your eyebrow in place throughout the day.
Step 9: Bronze/Contour
I use Tarte Face Palette, RM240 and it’s a powder contour. Some prefer cream (I do too for cheeks)

photo credit: Sephora Australia
Pocket friendly alternative: Unsure (Suggest in comment if you do know any affordable brands for this!)
Step 10: Blush
I used a Tapered Face Brush (From our Premium Kit that has been discontinued, sadly) because I prefer that than a round blush brush. Use a colour that’s natural and complimentary to your skin and eye makeup. I have my go to Peach blush for a more natural warmer look to my face and go with my Pink Coral blush for a daily look.
I use Charlotte Tilbury’s Cheek to Chic in Ecstasy, about RM 150 and

photo credit: Charlotte Tilbury
Pocket friendly alternative: NYX Baked Blush in Sugar Mama (I think), about RM 30 from Sephora Malaysia

photo credit: beautyheaven
Step 11: Highlight (only if you’re into this)
Highlight just doesn’t work so well for me. I think it’s because I have textured skin that putting on highlight magnifies it. But if you’re into it and want to even shimmer the f out, set your face with a mist and then highlight. Voila! You’ll blind people.
I use Anastasia Beverly Hill x Nicole Guerriero’s Glow Kit, RM 260 or so. Bomb dot com.

photo credit: Sephora UAE
Pocket friendly alternative: Use any of your shimmery, natural eyeshadow colours! To make it pop even more, mist your face with setting spray so that the product shimmers even greater!
Step 12: Lips!
I use a lot of liquid lipsticks.. Although lately I have been reaching out to my creamy mac lipstick since it’s easier to apply while in the car.
My favorite liquid lipstick is Huda Beauty. Her formula and my lips just work so well together! The colours compliment my skin so well too.
During my wedding reception, my makeup artist Naqiah Rahim (THE BESSSST) used Bombshell on me and it lasted all night long!

photo credit: Cult Beauty
Some liquid lipsticks works so well with lip balms and some don’t. But in general keep your lips hydrated with lip balm. I use the Nivea brand bought from Guardian.
Pocket friendly alternative: Oh soooo many local brands have pretty good and affordable liquid lipsticks or lipsticks in general. I’ve bought a few and I think I like Nita Cosmetic’s the best. I actually didn’t like them at first. This is one of the example of some liquid lipsticks don’t work well with lip balm. Every time I want to use my Nita Cosmetics I do not put on any lip balm because otherwise the lipstick will move and won’t last long. My shade is Kurung from Nita Cosmetics, RM69

photo credit: Nita Cosmetics
Final step: Lips & Setting spray (optional)
If you don’t have this product, it’s totally fine. You’ve taken the necessary steps beforehand to ensure you’ve set your makeup in place. If you do have it, mist this evenly across your face. Mist okay, not wet your face. Don’t let your face drip.
I use Mario Badescu’s Facial Spray, RM 39 on Sephora.com.my

photo credit: ulta
Hope this blog posts helps!
I’ve used a lot of the products in years and swear by it. Some are pricey, but I started with much more affordable makeup too before buying these expensive brands.
One thing for sure is makeup is supposed to be fun, and there are no set rules and regulations on how to use it. It really depends on your skin and preference!
But always take care of your skin! I didn’t when I started out makeup and now I’m suffering with pigmentation etc. But thank God for makeup at least I can cover it up a little bit haha.
All my love.
